How to Make a Photo Collage on Phone: Step-by-Step Guide for 2026
Published on
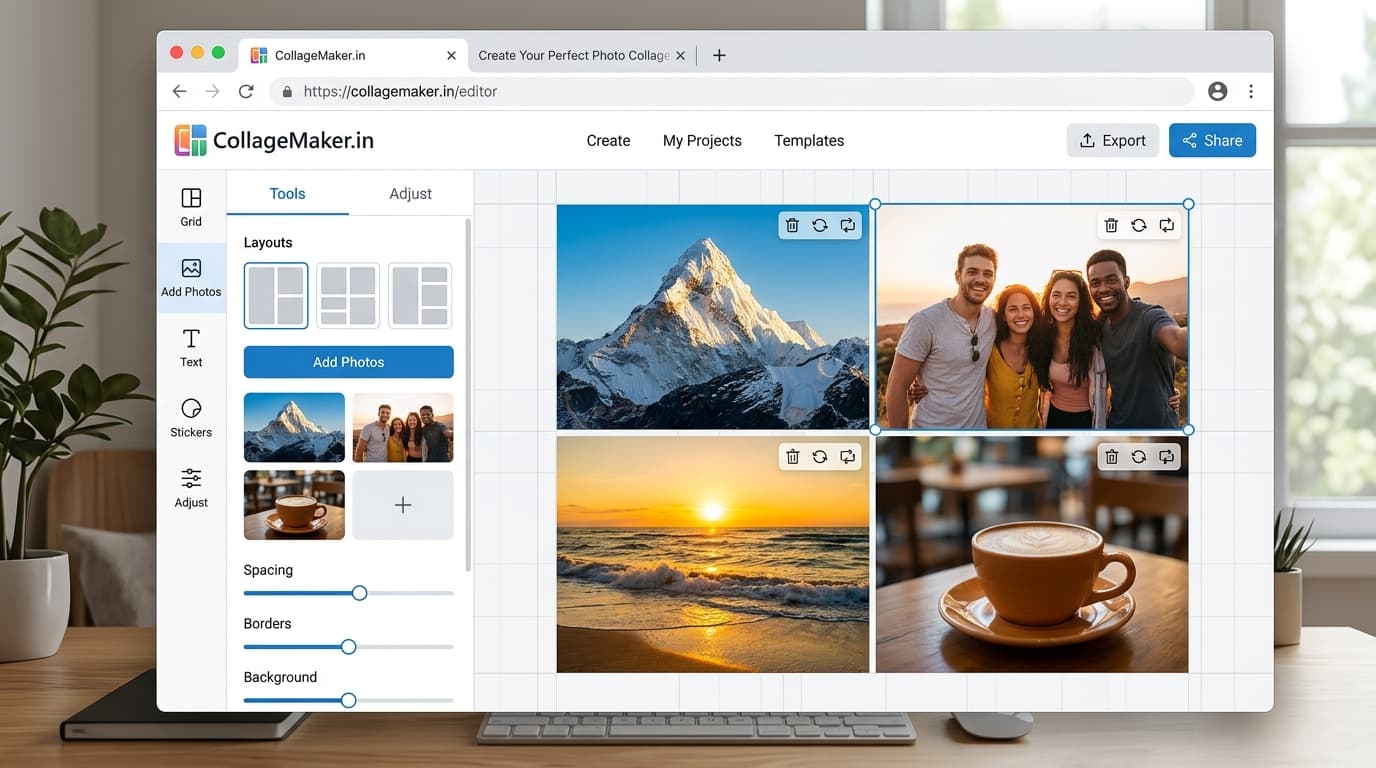
How to Make a Photo Collage on Phone (Step by Step)
You do not need an app for this. Your phone browser can run a full collage editor, which means no storage warnings, no forced updates, and nothing left behind after you clear the tab. Here is the exact workflow, written for one thumb on a bus.
Step 1: Curate before you upload
Open your gallery and shortlist 8–12 photos into a dedicated album first. Uploading forty frames and choosing inside the editor wastes time because every extra thumbnail is another decision. The album method also lets you restart cleanly if you change direction midway.
Step 2: Open the tool and pick your shape
Launch the photo collage maker in Chrome or Safari and decide the destination before anything else: square for feed posts, tall 9:16 for Status and Stories, landscape for Facebook. The canvas selector sits in the right panel — set it once and everything you place afterwards snaps to that geometry.
Step 3: Upload from the gallery
Tap any empty cell and hit Add Photo, or open the Photos tab and load the whole album at once. The editor accepts up to 40 images per session. Nothing uploads to a server — the files stay in your phone's memory, which matters when you are working on family photos.
Step 4: Choose a layout that matches your story
Three cells of one event? A strip works. Nine moments from a wedding? The 3×3 tells it best. One hero frame plus supporting details? Use a magazine split. Switch layouts freely — placements carry over whenever cell counts match, so experimenting costs you nothing.
Step 5: Fix the weak frames
Tap a photo to select it, then use Adjust: brightness between +10 and +20 rescues most indoor shots, saturation around +15 restores colours phones tend to flatten. Do this before fine-composition work because grading changes how frames feel next to each other.
Step 6: Arrange until the rhythm works
Drag thumbnails between cells to swap positions. Alternate close-ups with wider shots, put faces where eyes land first (centre and top-left), and keep similar-looking frames apart so the grid never looks repetitive.
Step 7: Export for the destination
JPEG under 1 MB travels fastest through WhatsApp forwards; PNG preserves maximum sharpness for Instagram or printing. Download once, check it at arm's length like a viewer would, and re-export only if text or faces look soft.
When results disappoint, check these first
- Blurry output usually means blurry source files. No export setting fixes an out-of-focus original.
- Cramped feeling means too many busy frames adjacent to each other. Swap one for a simple detail shot.
- Faces too small mean too many cells for your best material. Cut from nine photos to five.
- Colours look off together — apply one filter preset across all cells instead of per-photo edits.
The whole cycle takes about two minutes once muscle memory kicks in. Faster than installing an app, lighter on storage, and the result downloads straight to your gallery ready to send.
Create your collage now
Launch the free tool and turn your photos into a polished collage in under two minutes.
Open Collage Maker